After a long time I am writing a post for my very dear readers. First I want to announce a good news.I was busy in extra bit of study for last couple of months. As I was eager to get admitted in MS mechanical Program . Well now I got enrolled in a university. Last two month it was my “zero” semester and I really need to clear it to enrolled. Today, let me take a deep breath, I got selected from 200 students and now I am pursuing MS Mechanical degree.
It is my first tutorial after getting admission. let’s come to the point. At the end of the post I have provided you with creo elements parts that will be used in this tutorial. I also have made a video of tutorial so it can help you while applying it.
I have considered that you already know a basics of creo elements /pro.so I am not going to explain the modeling of parts. But today I am going to show you a little basic to creo elements/pro “Assembly”
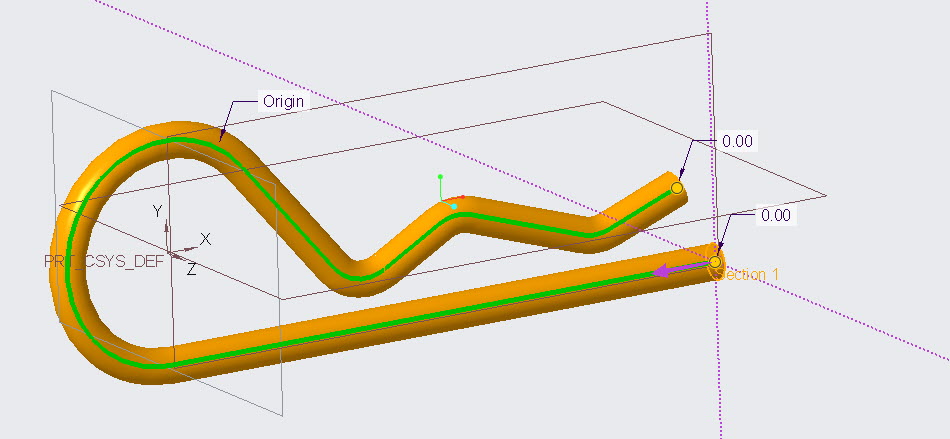
The main point that I need to explain is assembling of displacer crank shaft. You can see in my video I have used pin joint for this. First take a moment to look at your legs, your fingers all they are pin joint mean they can rotate about a fixed axis while they cannot translate. The same idea will be applied to the crank shaft moment. As this joint will act like pin joint when displacer will translate with in the cylinder body.it is just like slider crank mechanism.
Hope you will enjoy the video.
Share it
Leave a Reply