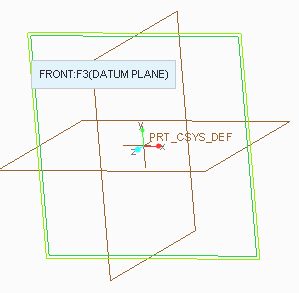
Open creo element and make a new file for solid part. In main window select the front plane and click at sketch icon so we can sketch our desire shape for this tutorial
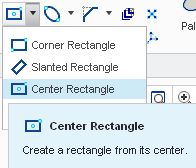
In sketching window select “center rectangle tool” , to make a symmetric rectangle, and draw a rectangle with 300×200 dimension as shown in fig. after this just click at green ok button.

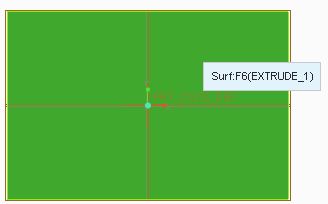
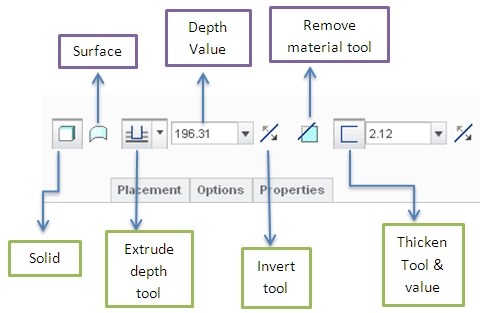
When you return to main window from sketching window select the extrude tool and make solid protrusion up to 30 unit depth and press ok button .Now select the surface of solid rectangle and click at sketch icon.
In sketching window make small circle with dimension and placement as shown in fig and press ok so you can return to main window.

Now use extrude feature to make through hole in it (use extrude solid cut). After making the hole select the hole and click at pattern tool icon.In pattern menu select the curve option.
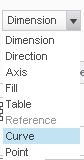
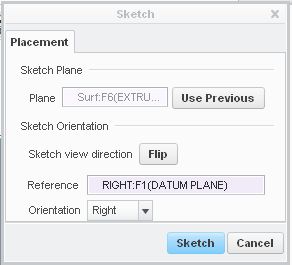
The creo will ask you to select or define a curve for pattern. So click at reference tab and click at define button.

A dialog box will open. Now you can either select the surface of solid rectangle or you can use “use previous” option . after selecting any option click at sketch button in that dialog box. this will lead you in sketching window.
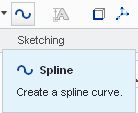
IN sketching window use spline tool and make a sketch as shown in fig. you can even draw a curve of your choice. Draw the curve and click ok.

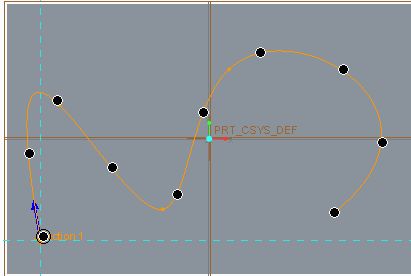
After clicking ok in sketching window you will see some black dots following the curve you just draw. This is showing the pattern of hole that we want to make.
At dashboard and in the pattern feature menu you will have two options to control your pattern. Either you can specify the distance between two consecutive black dots or you can specify the total number of hole that should be generated .

i specify the total numbers to 10 and click ok button. This will generate our desired pattern.

Share it
Leave a Reply