In this tutorial we will learn the use of line and rectangle tool in creo parametric sketching. This tutorial will explain the basics of these two tools and will make able able to draw the objects for other tutorials. First we will cover line tool and then we will cover rectangle tool.
Line Tool
At least two points are required to draw a line. in Creo parametric these points can be made by clicking “left mouse button or LMB” in sketching window after selection of line tool. There are two options to draw a line and these options are listed below.
- Line chain
- Line tangent
Line chain
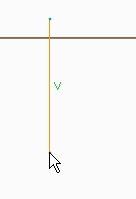
First select the line tool ( you will see a cross “x”sign under mouse cursor) and then click at the point from where you want to start the line and then do second click where you want to end the line.
In creo parametric default option for line is “line Chain”. Which creates chain of lines until you break the chain by pressing “Middle Mouse Button or MMB” or “Esc” key from key board, once. Press same buttons, mentioned earlier, two time to deselect the tool. if you want to draw more lines then you can do it by just clicking at desired locations.
Tangent Line
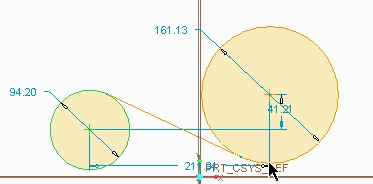
To draw this line you need at least two curves. For this purpose draw two circles. Now select the tangent line option and then click at first circle and then click at second circle. This will generate tangent line automatically.
Rectangle tool
Rectangle can be drawn in different ways as we drew the circles. They are listed below and we will go through each one by one.
- Corner rectangle
- Slanted Rectangle
- Center Rectangle
- Parallelogram
First make a new file and select the front plan in main window and then click at sketch icon.
Corner Rectangle tool
In sketching window, select the corner option. Now you need to click at two places. Both places will be the corner points of rectangle and lies at the diagonal of rectangle. Make first click then move the cursor a little and then make second click.
Slanted Rectangle
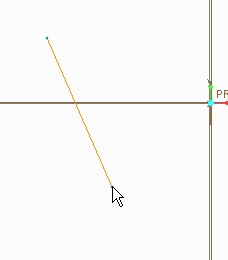
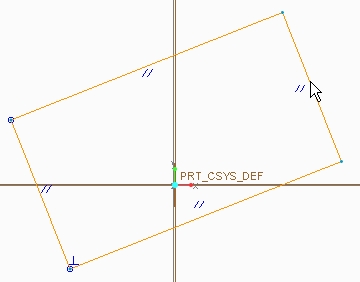
In this rectangle all opposite sides remain parallel to each other with interior angle 90 degree. But overall rectangle can be inclined or straight (just as corner rectangle). To draw this rectangle you first click at slanted rectangle tool and make an inclined line.
This inclined line will determine the angle from horizontal axis. After drawing the line just move the courser in perpendicular direction of line and you will see a rectangle with size following your mouse cursor.
Center Rectangle
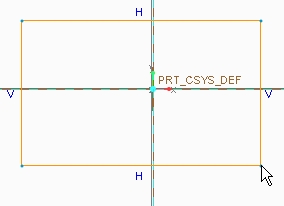
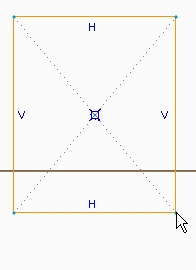
Let me first define the center of rectangle. It is a point where two diagonals of a rectangle cuts each other. To draw it first select center rectangle option and then click anywhere in sketching window (for tutorial purpose). This point will be the center of rectangle. Now move the cursor and you will see a rectangle is being generated with your determine size.
Parallelogram
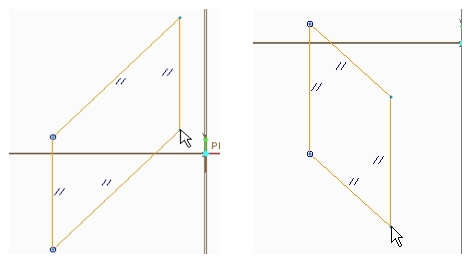
This option gives you an opportunity to draw a rectangle with two side perpendicular to some reference while other two are at some other angle (can be 90 or or any other value). To draw it first select this tool then make a line. then move the cursor along any side.
The difference between slanted and this rectangle is that In slanted rectangle, the interior angles remain 90 degree while in parallelogram it can be 90 or any other angle but opposite sides remain parallel.
Share it



Leave a Reply