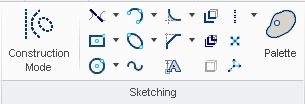
I have written about some basic tool of creo parametric. Last night I thought to wrote about some folks as many users can have problems while using creo elements first time. that’s why I am going to post some very basic lessons of creo . so I am going to start with sketching tools. In the following fig you can see some sketching tools that we will discussed one by one.
Circle Sketching Tool
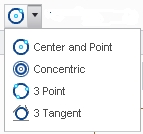
Today we will try to understand how can we sketch circle with different methods in creo element pro. Before moving forward I will suppose you have open creo and also you have created New solid part file. There are four different methods to draw a circle listed below.
- Center and point
- Concentric
- 3-points
- 3 tangent
Center and point
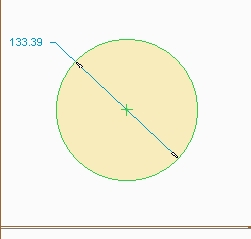
To draw circle using this option, you need to first choose the location where you want place the center of the circle. Now select the center and point circle option under circle sketch tool menu and click at the location where you want to place the center and just take the mouse cursor as much away from that point as much big you want the circle. One thing you must notice is the cursor after selecting the circle option. You will see a “x” sign under it.
Concentric
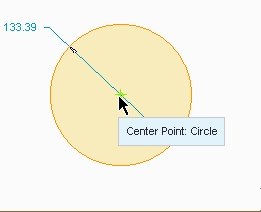
This option is used when we want to draw more than 1 circle with a same center point. To use this option you must have to create a circle first, we have already drew it, then select the “concentric” option and bring the mouse cursor at the center of the circle that we have already drew. You will notice that center point become active (green).
Now select the center point and then you can draw as many circle as you want.
3 Point
As the name suggest, it will be a circle that will pass through three points that you will define. For practice, select the 3 point option then click anywhere within sketching plan or window where you want. Then again click anywhere for second point. Now a circle will appear waiting for your third click.
3 Tangents
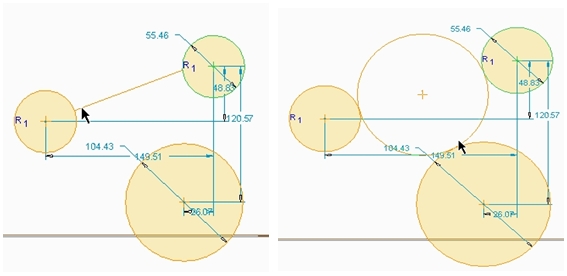
To make use of this option you will need to have three curves so you can make their tangent. So first create three circles at different location and of different sizes. 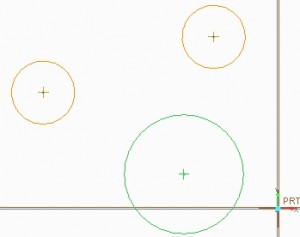
After this select the 3 tangents option and click at first circle. After this when you will move the cursor you will notice a line following your cursor. You need to place this line at 2nd circle. So just click at second circle and then at third.
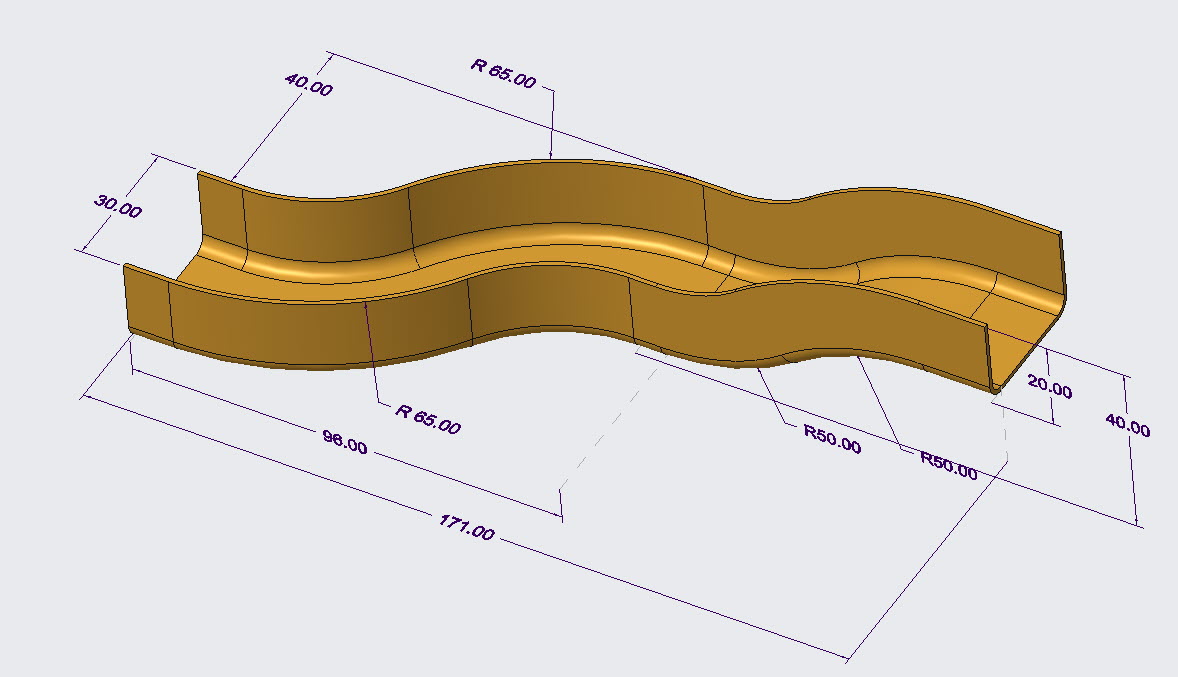
Here your exercise is completed
Share it


Leave a Reply