Introduction
Intersection tool in Creo Parametric will create a sketch, either 2-D or 3-D, at the intersection of two available sketches. Creo Parametric will create theoretical surfaces, using extrude tool, from each sketch and create a sketch at the intersection of these theoretical surfaces. Available sketches will act as “component” of the final sketch.
So, In intersection tool, we need to draw two (02) sketches on different planes. These two sketches will act as the components for your final sketch. For example an arc will look like a straight line in some plane or a cylinder will look like a rectangle in a plane and a circle in some other plane.
Method of using Intersection tool
Let’s start the exercise then it will become clear.
Open creo parametric create a new part file by following the path
File > new > part
Select the front plane and click on sketch icon
Front-plane > sketch
In sketching window make an arc as look like in the figure. Dimensions are not critical and can be chosen accordingly.
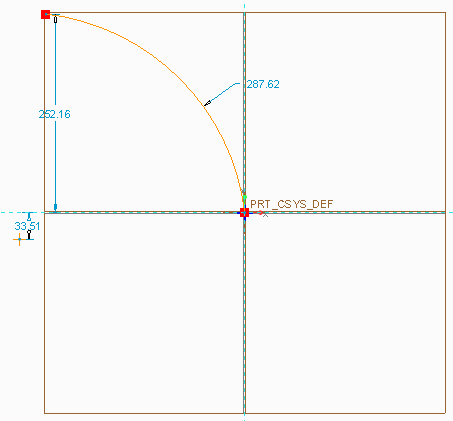
After this select any other plane either top-plane or right-plane and again go into sketching window by clicking at sketch icon. In sketching windows make another arc.
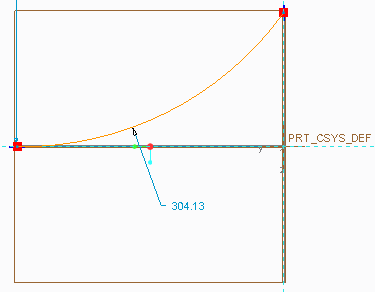
After completing both sketches, just change the part view to see how both section have been placed (this is optional).
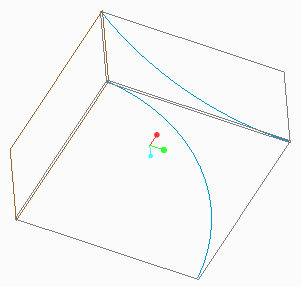
Now select one sketch and intersection tool become active. Now click at the intersection tool.
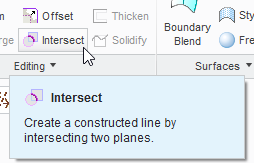
If you have selected only one sketch, earlier, then this tool will ask you to select the second sketch so now just select the second sketch. You can see change of states in the tool as shown in figure below.
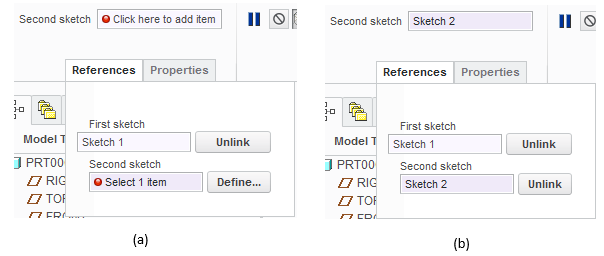
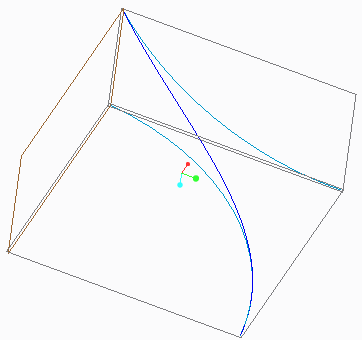
After selecting the second sketch just click on the OK button to complete the intersection sketch. In the following figure you can see that final sketch (the arc with dark blue colour).
Intersection Tool Exercise
Let’s create the following model using intersection tool.
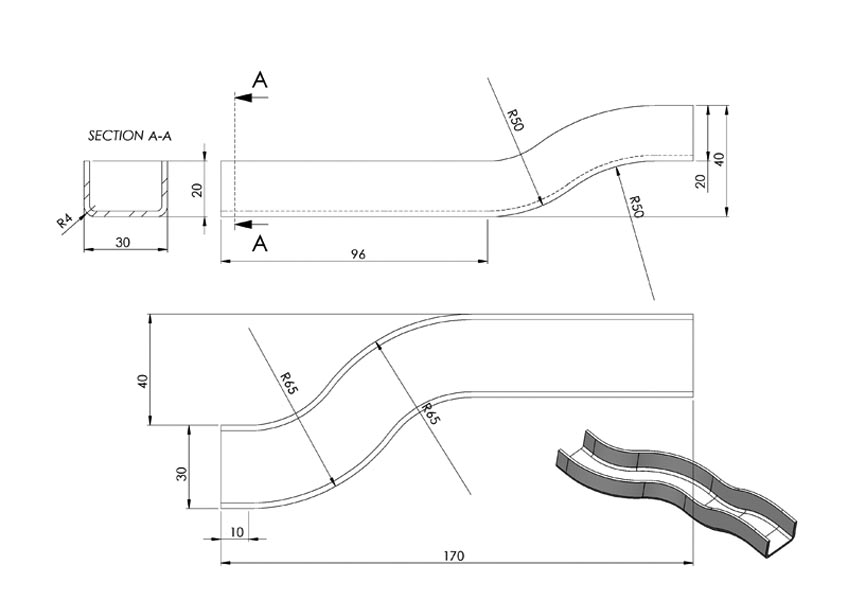
As you can see in above picture, two views of the given 3D model, which are at different planes, are given. but for our ease we can assign names to the views so we can draw them on specified planes. for this purpose i have labeled the above picture and marked a “central sketch” in Top View. because in this tutorial we will draw this sketch in Top-plane.
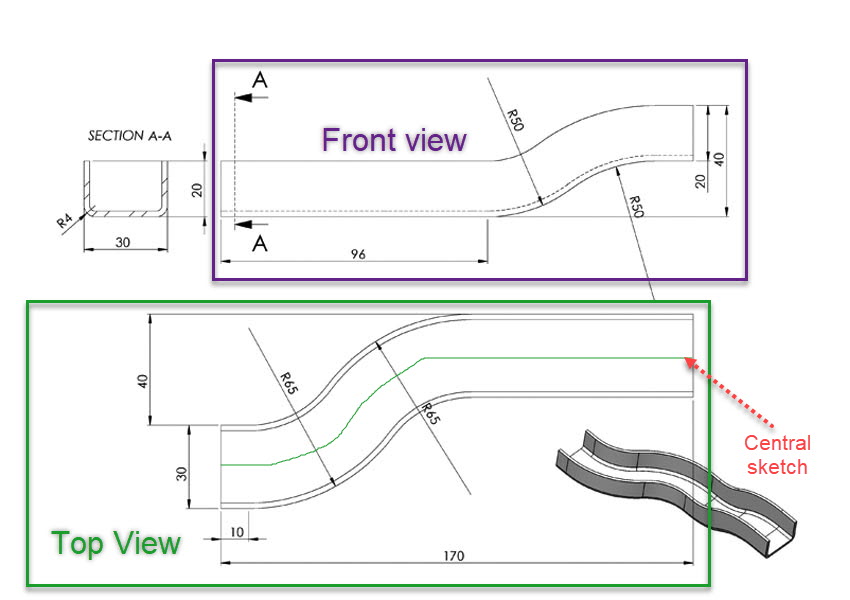
So based on above picture, we will draw two sketches one in front plane (top sketch in above picture) and second on top plane (bottom sketch in above picture). in this tutorial we will create only final sketch and to generate 3-D model, as shown in above picture, we will use sweep feature after creating our final sketch.
Now we will create our first sketch in Top-Plane. So select the top plane and click on the sketch icon
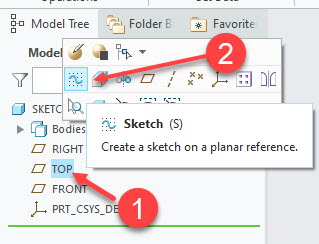
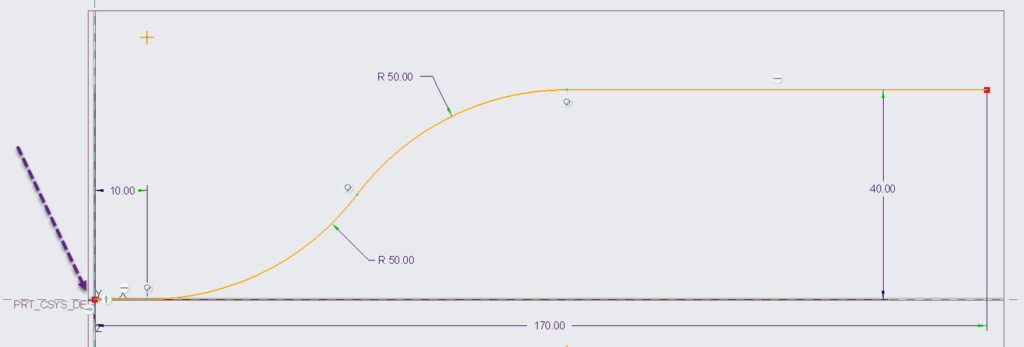
Now create the following sketch using lines tool and arc tools in sketching window. Here I am trying to create sketch which will reside in the middle (see the top view). So I need to calculate its dimension. As my sketch is in the middle so I need to either subtract or add “15” units (half of the 30) from the arc radius. So our sketch will look like as shown in the following figure. Note that I have started my sketch from the origin.
Now we will create second sketch on front-view.
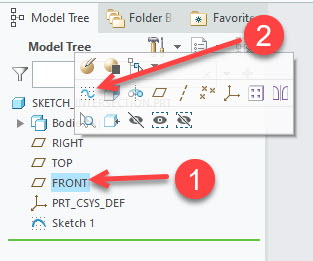
Here I am trying to create the bottom line/ sketch as shown in front view. So you can see following sketch is exactly the same as shown in main figure.

After creating above sketch click on “Ok” button. Up till now we have created both sketches.
Now select both sketches in model tree and click on “intersection tool” as shown in the following figure.
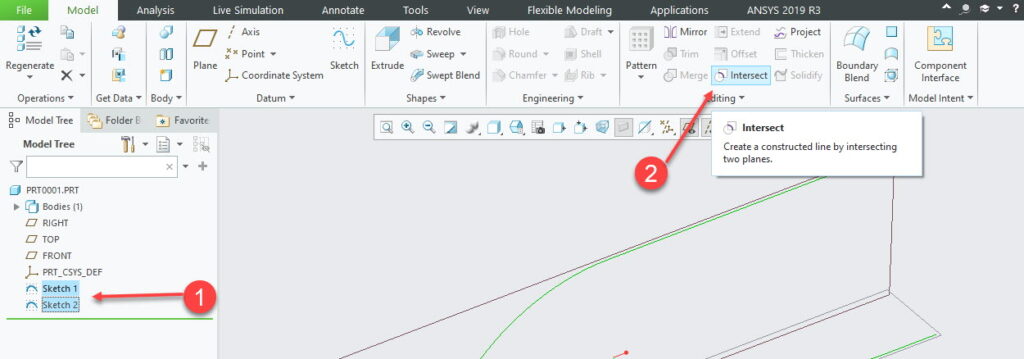
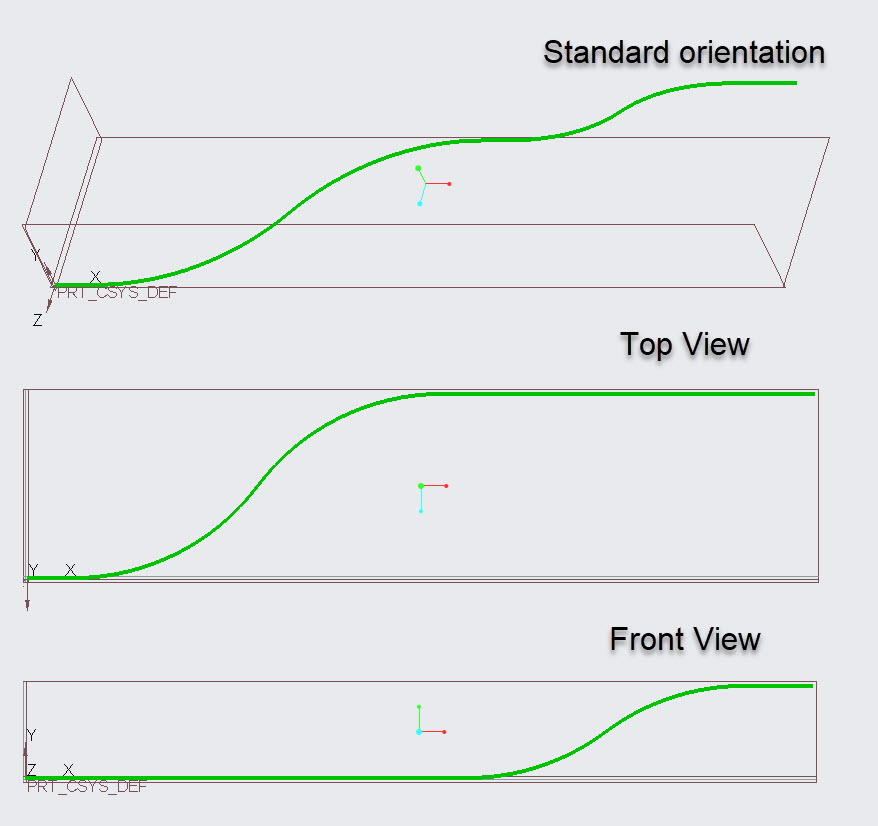
This will create the final sketch which is required in this exercise. In the following figure we can see the standard view, top view and front view of the sketch, which we have created using intersection tool.
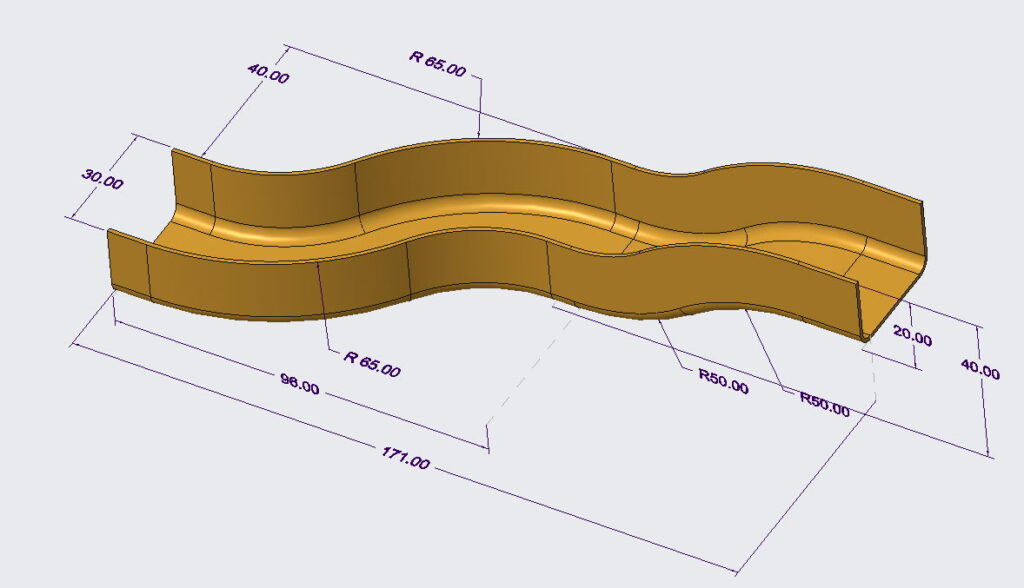
After using sweep tool we can create the following model which just like the model given in the picture. i also have mentioned the dimensions on the model for the reference. so you can compare the dimensions of model with given sketches.
Share it
Leave a Reply